How I Learned to Love the Email Patch Developer Workflow
Note: This post is adapted in part from my guide to contributing to the Git project, which you can read here. I owe my thanks to my reviewers there, including Junio C. Hamano, Johannes Schindelin, Jonathan Tan, Josh Steadmon, and Phil Hord.
Five weeks ago, I joined a new team at Google, and began contributing to a new project: Git. I was (and still am) thrilled to be working on a piece of software used by countless developers across the globe! To gain a deep knowledge of a tool I’ve evangelized for so long!
But then I subscribed to the mailing list, and it truly began to sink in to me that for the forseeable future, I could expect my mailbox to look something like this:
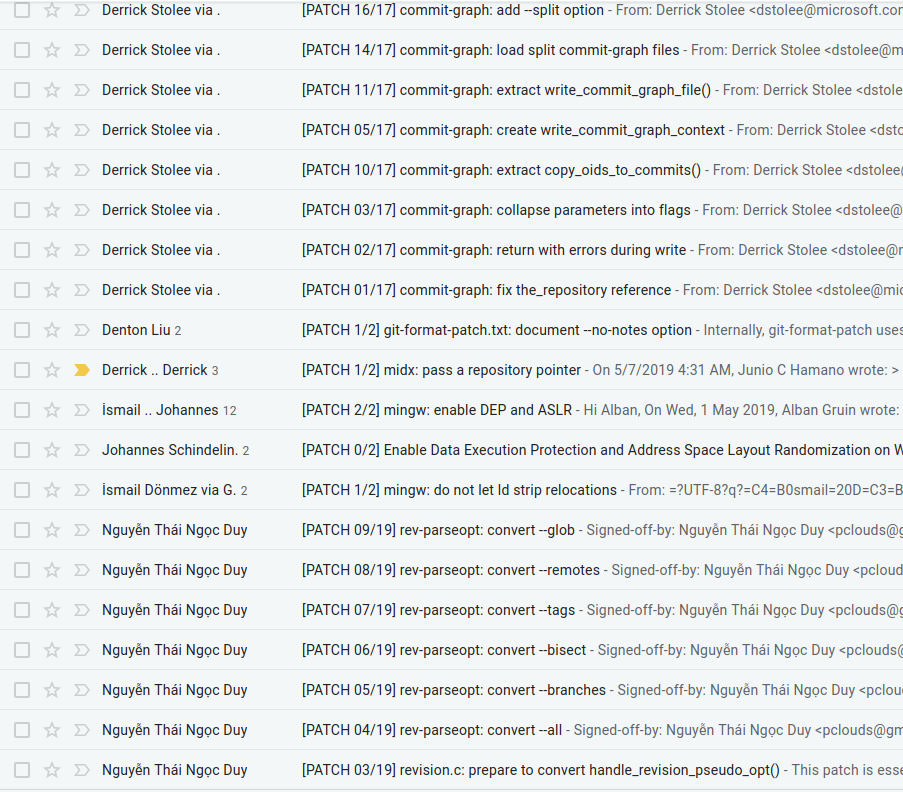
Ouch.
Out of My Element
When I started writing code professionally, I worked on a team that used Gerrit. I liked it well enough that I continued to recommend it when asked; an iterative review UI based on Git, who could ask for more? At my next company, code reviews were performed by another developer examining your ClearCase checkout and sending you an email about it (yikes). Later I was asked to evaluate Team Foundation Server’s built-in review tooling for another company, on a team which insisted that “code reviews take valuable developer time” - and, as a result, generally didn’t perform them. Then I was lucky to fall back into a team using Git alongside a proprietary review tool, and then, back to my roots: Git and Gerrit on OpenBMC, and Gerrit for our internal fork, too.
This whole time, I figured no matter how bad the review process was, at least it wasn’t emailed patches. Why does anybody still use that terrible workflow? Who would want to review a diff line-by-line in their email client?!
I was envisioning someone painstakingly copying a diff from an email body and
pasting it into apply. Or carefully making a second copy of the altered file
and running diff -u, and then handwriting the subject and commit message.
Of course, nobody does that. It’s absolutely true that no developer today - let alone the bash-happy Unix devs of yesteryear - would use that workflow. With some tooling and good practices, I found a workflow that I love - and found myself arguing in defense of emailed patches!
git format-patch to the Rescue
Perhaps unsurprisingly, since the Git project itself is organized via emailed
patches, Git has some excellent built-in tooling for preparing your commits for
the inbox. git format-patch is the most notable - with it you can prepare an
entire branch for mailing, include a cover letter, indicate a Request for
Comment change, generate updated v2 or later patches, and more.
It’s easiest to use git format-patch if you’ve been working in a feature
branch (which you always do, right..?) - for the purposes of the tutorial, we’ll
assume the main branch of the project is master and your feature branch is
feature; we’ll also assume that feature has been recently rebased onto the
tip of master.
Preparing a Single Patch
Imagine that you’ve got only one commit in your feature branch. Typically projects like to see individual patches sent as a single email with no cover, with a subject like “[PATCH] component: my great feature”. Make sure that your working tree is clean - that is, everything you want committed is committed - and run the following.
$ git format-patch -o feature-patches/ master..featureThat’s it! -o feature-patches/ tells Git that you want your patchfile in the
feature-patches/ directory, and master..feature tells Git you want patches
for the diff between master and feature - which in this case should be only
one commit.
Now take a look in feature-patches/. You should see a single file named
something like 0001-component-my-great-feature.patch. If you open it up in
your favorite editor (I like Vim), you’ll see an email header, your commit
message, a diffspec, and a unified diff indicating your changes.
Ideally, your commit message should say everything there is to be said about
your patch. But sometimes, there’s some context you want to add that isn’t
appropriate for a commit message - for example, maybe you want to warn everyone
that you won’t be addressing comments until next week as you’re visiting your
aunt in Mallorca and she doesn’t like to give out her wifi password. In that
case, look for the --- above the diffspec - you can provide your additional
message there. It will look something like this:
From 1345bbb3f7ac74abde040c12e737204689a72723 Mon Sep 17 00:00:00 2001
From: Dev Eloper <developer@cool.website>
Date: Thu, 18 Apr 2019 15:11:02 -0700
Subject: [PATCH] README: change the grammar

I think it looks better this way. This part of the commit message will
end up in the commit-log.

Signed-off-by: Dev Eloper <developer@cool.website>
---
I welcome everyone's comments on this change, however, I will be unable
to answer until next Friday. My aunt still insists that if she gives me
her wifi password I will hack the Pentagon from her cottage.

 README.md | 2 +-
 1 file changed, 1 insertion(+), 1 deletion(-)

diff --git a/README.md b/README.md
index 88f126184c..38da593a60 100644
--- a/README.md
+++ b/README.md
@@ -3,7 +3,7 @@
 Git - fast, scalable, distributed revision control system
 =========================================================

-Git is a fast, scalable, distributed revision control system with an
+Git is a fast, scalable, and distributed revision control system with an
 unusually rich command set that provides both high-level operations
 and full access to internals.

--
2.21.0.392.gf8f6787159e-goog
Great. You can see in the example which parts of the email will be retained as
a commit message, and which parts will be ignored by git am. If you’re not
sure how it will look, you can always try running it through git am yourself
to have a look at the resulting commit.
If your organization likes even single-commit changes to contain a cover letter you can just use the instructions in the next section.
Preparing a Patch Series with Cover Letter
If you’ve been working on a much larger feature and your branch has a number of
commits, you can still use git format-patch pretty easily. Like before, make
sure your working tree is clean and your commits are all in order, then run
$ git format-patch --cover-letter -o feature-patches/ master..featureHave a look in feature-patches/. You should see n+1 patch files (where n is
the number of commits you have on top of master). Most of them will reflect the
subject lines of your patches, but there will be one named beginning with
0000 - that’s your cover letter. Go ahead and open it in your favorite editor.
You should see that it’s already got a template, including some email headers and a diffstat. Change the subject line to something that summarizes your entire feature, taking care to preserve the “[PATCH 0/X]” portion. You can also include context in the body of the cover letter to explain anything about the patchset which wasn’t appropriate for inclusion into the commit messages. For a larger changeset, this is typically the place where you explain what your feature is as a whole.
If you examine the other patches, you will see that they are all marked
In-Reply-To the Message-Id of your cover letter. This is good and what most
communities prefer, but you can change the behavior with the --thread
argument.
Some Tips for Format-Patch
- Resist the urge to edit the diff in the patch directly. The diff contains some line number information that needs to match up and is hard to fudge by hand. Plus, your local tree will get out-of-sync with what you’re sending upstream.
- The timestamp at the top of the patch is special and indicates that the patch
was generated with
git format-patch; don’t touch it. - The build number at the bottom indicates which version of Git you used to generate the patch; you can delete this if you are feeling the need for privacy.
- The area below the
---or the cover letter in v2 or later patches is a great spot for you to explain what changed between the previous version and this one. Your reviewer could use an interdiff to figure it out, but it’s kind to give them a hint.
Show Them What You Got: git send-email
Note: One thing this tutorial won’t cover is how to download and configure
git send-email. Not because it’s hard, or trivial, but because setup steps
vary quite a bit depending on your system and email client. send-email is
often not packaged with base Git; you may have to install it separately. This
tutorial assumes you’ve already got it up and running.
After the steps in the previous section, you should have one or more patch
files in your feature-patches/ directory, and you should also have examined
your patches to ensure that they look perfect and ready for review. Sending them
is as simple as this:
$ git send-email --to=mailing-list@project.org feature-patches/*.patchThat’s it! Your patches are out and your reviews should come pouring in. (Okay, maybe “trickling” is a better word.)
Responding to Comments
Note: As with Gerrit and other iterative code review tools based around a Git workflow, making your changes involves using interactive rebase. I won’t cover that here, as it’s not significantly different from other processes, and it’s complex enough to take its own tutorial.
Your reviewers will likely provide their comments inline, and it’s often good manners to reply to each review comment indicating whether you’ve taken an action or not. When I’m replying to review comments, I like to have a window open with a reply to the email, and another window open with my code. I make sure that I’ve begun an interactive rebase and paused to edit the commit I’m examining comments for, and then I open my source file. As I read comments in the email, I make a change as appropriate in my source, then type a response inline to the comment in question. (That way I know I didn’t miss anything!)
When you’ve addressed all the comments for a certain patch, make sure to git
add -u && git commit --amend to update your commit with the changes. Once
you’ve updated your entire branch this way, you’re ready to send v2.
$ git format-patch --v2 -o feature-patches/ [--cover-letter](You should include --cover-letter if you’re sending more than one patch. For
a single patch, you should omit it.)
Take a look in feature-patches/. You should see a new set of patches next to
the old ones, this time preceding with v2-. Edit the cover letter or patch
body to include details on the changes since v1.
As long as you’ve got In-Reply-To: set up correctly on your single patch or cover letter, you can send almost just like before; just make sure to target the v2 patches:
$ git send-email --to=mailing-list@project.org feature-patches/v2*.patchA Happy Emailed-Patch Developer
There you have it! Emailed patches aren’t so bad with the help of a couple
handy Git tools. While they’re a little bit more effort than a push to Gerrit,
I’d argue that the time spent editing the cover letter is about equitable to
the time spent writing the message associated with the review in a graphical
tool. Plus, the ability to perform reviews via email means you can get really
wild and set up something like mutt so you can both review code and respond
to reviews of your own code within your favorite editor - and is there anything
that isn’t made more fun by the addition of Vim keybindings?
Happy hacking!